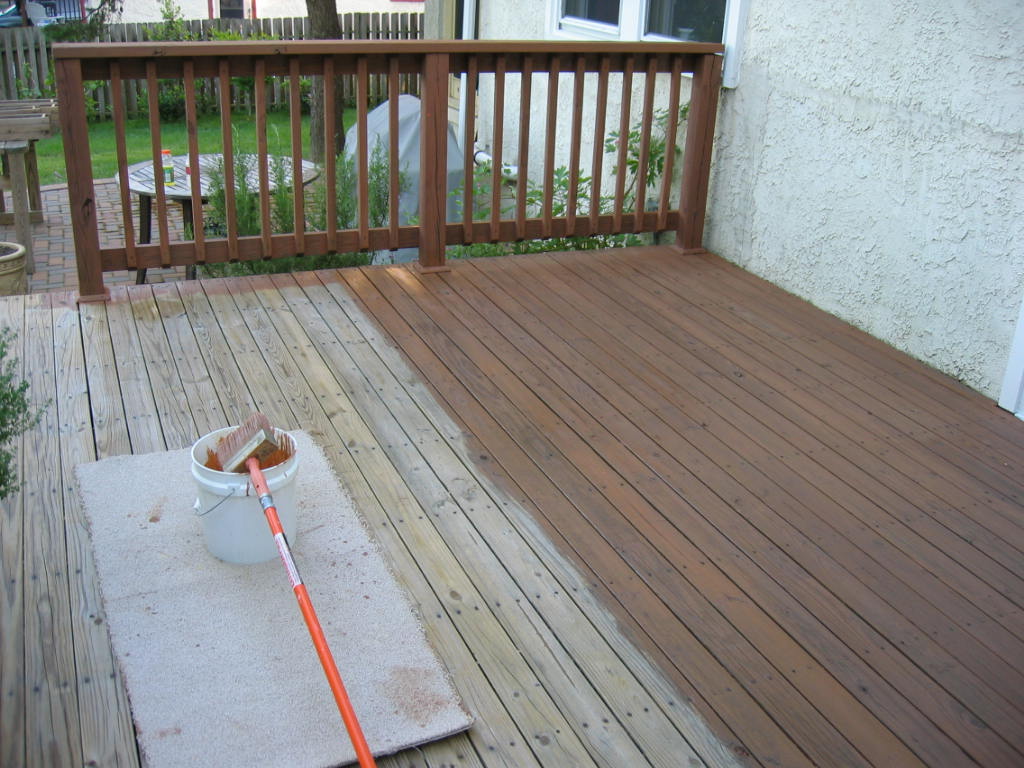
Easy Guide to Staining your Deck and Fence
Applying a wood treatment such as a stain or paint help prolong the life of your exterior wood by protecting it from the sun’s rays and moisture. Skipping maintenance on your exterior wood you risk having the wood dry, crack, split, warp, turn grey and rot.
PREPPING TO STAIN
Sand
Adam’s favorite thing to do! Not… Sanding is never a good time, though it is very important to sand to avoid splinters if you have splitting and cracks in your deck. For a semi-transparent stain it is important to sand in the same direction of the wood’s grain to avoid the scratches & resulting staining lines caused from sanding against the grain. Therefore, a sanding puck or a belt sander would work better than an orbital sander. We rented a handheld belt sander from Home Depot for $16/4hrs or $23/24hrs and a 2-pack of belts for $15.
Clean
Whether your deck has been stained before or not it is important to clean the wood with a deck cleaner before staining. It took me awhile to wrap my head around this, as I was looking to save time by skipping this step as our deck hasn’t been stained before so I thought it would be considered cleaned. However, it helps open the pours, removes BBQ grease, dirt, and bits of grass or whatever may be in your deck or fence. With your fence it may be more difficult to spread the cleaner on, so I was told that you COULD wash the fence with your garden hose (NOT A PRESSURE WASHER – this will damage the fibres of the wood) if it hasn’t been treated before. Though it is always best to use a wood cleaner on all exterior wood before painting/staining, nonetheless.
Tips for Applying a Wood Cleaner:
1. Spray the wood with your garden hose first
2. Apply the cleaner however you feel is best – could use a painting roller or pump sprayer. We chose to use a painting roller.
3. Scrub the cleaner on wood using a push broom.
4. Let sit for 15 Minutes.
5. Rinse off with garden hose.
6. Let it properly dry for 2 days before staining.
APPLY WOOD STAIN
Selecting Wood Paint/Treatment
You can go with a transparent, semi-transparent or solid color. If you prefer to see a wood grain you need to select a transparent or semi-transparent stain (this is what we chose!). For Alberta’s climate it is important to find a stain with good sunscreen properties and UV protection in order to extend the lifespan of your exterior wood. Having some waterproofing properties is important as well, though in Alberta we don’t get tons of rain so I was told this is less of a priority. When you have higher water-resistant stain you will likely have a glossier and more smooth of a coating on top which will make your deck more slippery, especially when there is snow on top of it. With us having kiddos we are going to choose one that is less glossy in order to prevent falls and accidents.
Stain/Paint
For solid stains or paints you could use a roller to apply, with following up with a brush to get the stain into the cracks and seams. With a semi-transparent stain you will want to use a brush to apply the stain on the wood. It is best to complete a piece of wood then move onto the next in order to have the stain blend nicely in. Be cautious around siding when applying the paint, you may like to use green painters tape to prevent paint and splashes from getting on your siding. Be sure to apply 2 coats, this helps your color and wood protection to last longer. It should be able to last 1-3 years.
After all that hard work, be sure to pour yourself a cold one and enjoy your beautiful deck/fence!

